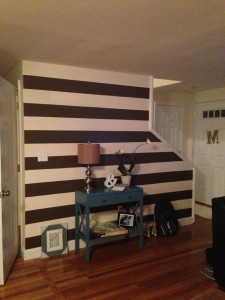
I am so excited to share this project with you today!
As soon as we moved in, I knew that I wanted a striped wall, and the staircase wall in our living room was the perfect one. It’s the first thing you see when you walk in our kitchen door.
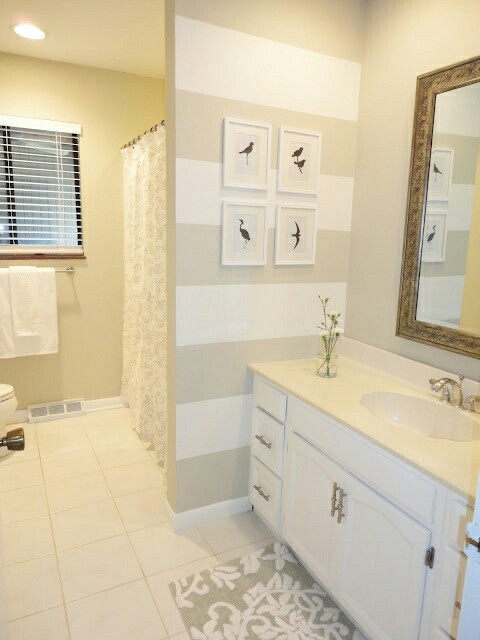
I stared at the wall for almost three months before finally tackling the project. This was my inspiration post:
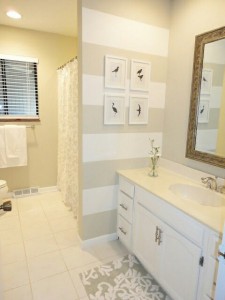 |
| (Source) |
And here is what I started with:
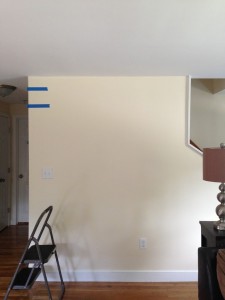 |
Ok, so I had already made my measurements when I realized I didn’t have a starting photo  |
List of things you’ll need:
measuring tape & pencil (we actually don’t have ONE pencil in our house, so I used eyeliner!)
level
painters tape
accent color paint of your choosing
ALOT of patience 

The first thing I did was measure the height of my wall. I knew that I didn’t want stripes that were too thin, so I kept playing around with the numbers to find a stripe size that worked. My wall height was 98″, so I had 14 stripes that were 7″ tall. There is no exact science to figuring this out, you just have to play with the numbers to find what works for your wall. Measure every 7″ down the wall and make a small mark on the corner.
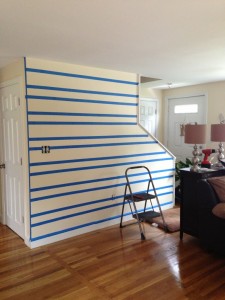
Then you begin taping! Taping the wall was the most tedious part of this project, it probably took me close to an hour. I taped in small sections at a time, using a level to make sure the line was straight. Although time consuming, this part wasn’t as bad as I was thinking it would have been.
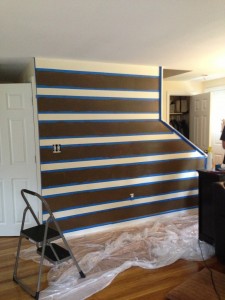
Then comes the fun part! I used an angled brush for the painting. A roller brush would have been much faster, but the sections were too small, and I needed to be very precise. Paint one coat, let dry for 30 minutes.
I only let it dry for the 30 minutes recommended before applying a second coat. As soon as I was done with the second coat, I immediately (and carefully!!) removed the painters tape. I didn’t want the tape and paint getting too “stuck” and risk pulling the paint off when we removed the tape.
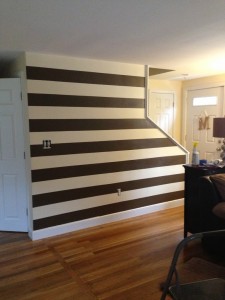
The finished project! I am absolutely obsessed with how the wall came out  It’s really amazing what a little bit of paint can do! We let it dry overnight, and this is how the wall currently looks:
 It’s really amazing what a little bit of paint can do! We let it dry overnight, and this is how the wall currently looks:
This fun table was a Target find earlier this year. I actually bought it the day after we moved into this house! I think the blue is the perfect pop of color against the neutal wall.
I am still deciding how to decorate this wall, although I have a few ideas. One or two photos, maybe the “M” that is on the back of our front door? I want something simple and not too busy.
I think that my house is forever going to be a work in progress. It’s been taking me a really long time to finish one section or room. It’s almost like I need to spend time in the space and make small changes as we go. So hopefully sometime soon, I’ll figure out what I need to finish this wall.
Ooooh you know what would look awesome? A gold sunburst mirror! If you see one, let me know 


